
How to Clean Black, Pink, or Purple Slime from Carpet & Clothes
Wondering how to clean slime out of the carpet or your favorite t-shirt? Here’s a step-by-step guide to tackling slime messes without stress or harsh chemicals.
Read More

Last Updated: July 26, 2022
If you’ve got a big ol’ chapstick stain on the front of your shirt, don’t worry. We’ve got tips to remove these pesky stains from your life — and clothes — for good.
It’s a tale as old as time. You squeezed too much lip balm out of the tube and it created a delightfully greasy smear all over your shirt. Or maybe your chapstick was in the pocket of those gym shorts you left in the backseat of your car on a 95-degree day, and now they’re stained and cherry-scented. However it happened, one thing is true — chapstick stains are a real pain.
But all is not lost! We’ve got a tried-and-true method to remove lip balm stains from your clothes using natural products you’ve already got on hand.
Chapstick, Burt’s Bees, and other lip balms contain semi-solid oils, natural or synthetic waxes, and dyes that love nothing more than to set up residence in the fibers of your favorite sweater. Once these products melt, they sink into fabrics and create dark, oily stains that need a lil’ elbow grease to remove.
So, do lip treatments like Chapstick and Burt’s Bees stain clothes permanently? While lip balm can in fact stain your clothes forever, the good news is that if you treat them quickly and with the right products, the stains will likely come out. At least, that’s what the folks over at Chapstick say.
So we’re taking Chapstick’s own instructions and trying them out on three big ol’ lip balm stains — Chapstick, Burt’s Bees, and tinted Burt’s Bees.

We decided to put Chapstick's method of removing its product from clothing to the test. While we were at it, we wanted to see if it would work for Burt's Bees, too — regular and tinted.
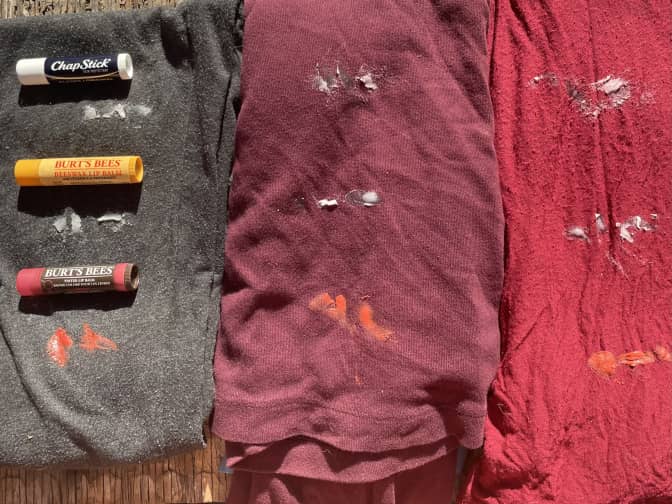
We grabbed a few items out of the clothes recycling bag.
Then we accidentally got lip balm on them:
We laid the garments in the sun for a couple of hours on a 100-degree day to make the balms melty, then brought them inside to cool off a spell before we commenced cleaning. Here’s how we did it.
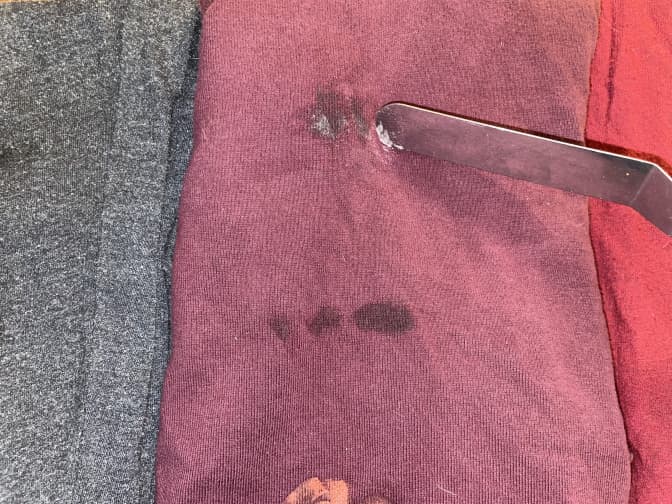
Gently scrape off any excess lip balm with a spoon, butter knife, or another tool. Be careful not to spread the balm even more!
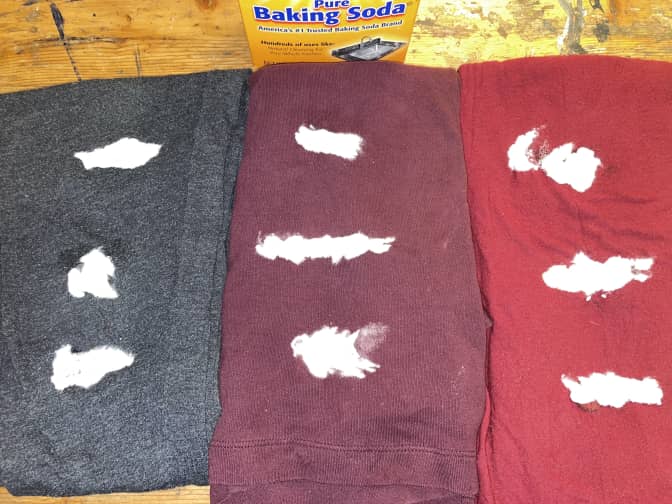
Cover the stain with a little baking soda to absorb the oils in the Chapstick. Let it sit for a few minutes.
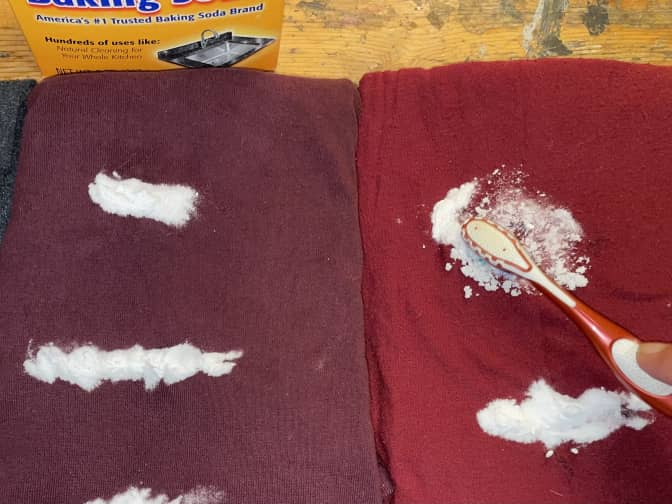
Use an old toothbrush to gently work the baking soda into the stain in small, circular motions. If the baking soda forms small clumps, as it’s doing here, discard it and repeat this process until no more clumps form. If no clumps form, repeat once or twice — rinse and dry the toothbrush in between.
Treat the stain with one of the following:
Rub in the pre-treatment, and let it work for at least 30 minutes.
Wash the item in a regular load of laundry. Use the hottest temperature the label advises. If you’re not sure, wash it in cold water. Add a laundry booster with oxygen bleach if the stain is particularly large or it’s been around for a while.
Check your clothes before you toss them in the dryer. If the stains are still there, repeat Steps 1 and 2 of the stain removal process above.
For the pre-treatment step, soak the item in your favorite oxygen bleach, which is color-safe, for at least a couple of hours. Then, wash as usual.
If the stain remains after the second washing, well, things aren’t looking great — but don’t despair just yet. If you’re really attached to the item, your best last-ditch bet for removing the stubborn balm is to engage in a little laundry stripping.
If the item isn’t worth the extra effort, toss it in the clothes recycling bag with the other wearables.
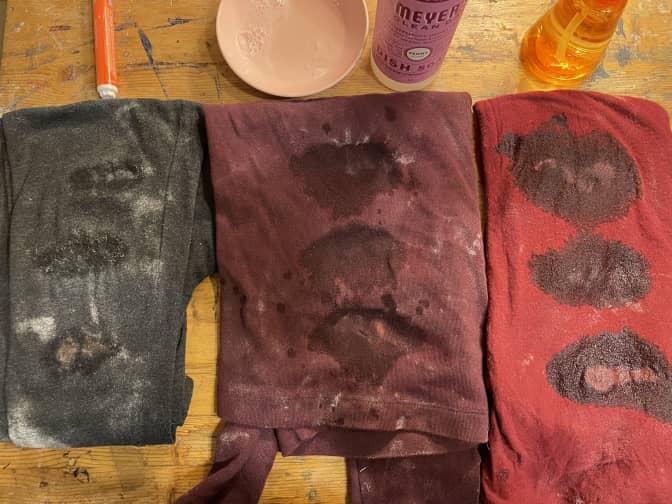
Welp, here you have it. When we pulled the garments out of the washing machine, they looked pretty good, but now it’s clear that the stains were still there, but just invisible because the clothes were wet.
So we tossed them in the dryer, and here’s how they came out. It doesn’t appear that our scraping, scrubbing, soaking, and washing did much of anything to remove these Chapstick stains.
If we were to do it differently, we’d try soaking the garments in oxygen bleach right off the bat instead of going the garden-variety pre-treatment route we chose.
It’s back to the rag bag with these duds!
Grove Tip
You wouldn’t think this would be an issue, but alas… it is. If you wash and dry a clothing item with pockets full of chapstick, and now it’s coating the insides of your machines, clean your washer and dryer right away so nothing else gets stained.
Spills happen, but Grove Collaborative has you covered with Stain Busters. Each week, we’ll tell you how to tackle a different tough stain around the home or on your clothes. Red wine, grass stains, ink ... no stubborn stain is a match for our grime-busting guides.
Looking for more cleaning how-tos and other sustainable swaps you can make at home? Grove has you covered with our buying and cleaning guides. And let us know how if you have any cleaning questions (or share your own tips using #grovehome) by following Grove Collaborative on Instagram, Facebook, Twitter, and Pinterest.
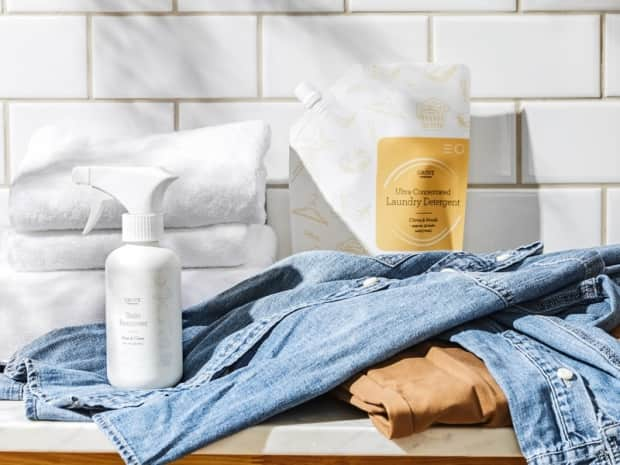
If you're ready to take on more stains, shop Grove Collaborative's cleaning essentials for the cleaning tools to tackle the job.
Wondering how to clean slime out of the carpet or your favorite t-shirt? Here’s a step-by-step guide to tackling slime messes without stress or harsh chemicals.
While mustard can be quite the beast, using our tips on how to get mustard out of clothes can be easily (and effectively) done!

We've pulled the 7 best Seeding by Grove bamboo products that have been top-rated by Grove members. Select from any on the list and get them delivered to your door!
We've pulled the 18 best natural Seventh Generation cleaning products that have been top-rated by Grove members. Select from any on the list and get them delivered to your door!