
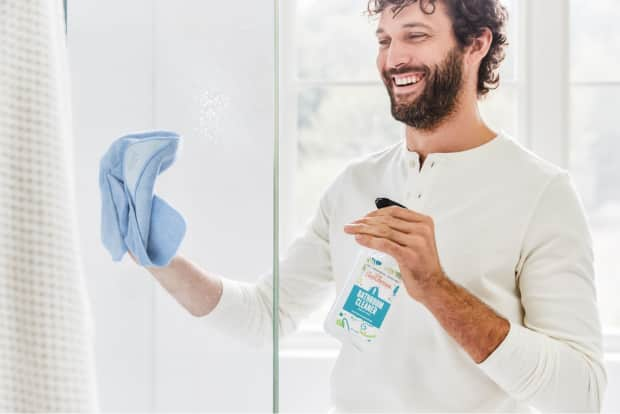
11 best shower cleaners for sparkling bathtubs & tile.
We've pulled the top 11 best shower cleaners determined by Grove members. Select from any on the list and get them delivered to your door!
Read More

Last Updated: March 29, 2022
Have you ever cleaned your shower head before? Is your water pressure nonexistent? All that means it’s time for a shower head deep clean—and you can do it with all natural cleaners. Read on.
Cleaning a dirty shower head is one of those things you know probably should be done once in a while … but you have no clue how to go about it. Doesn’t it just come clean when the water pours out of it? Well, not quite.
Don’t worry though, it’s not as hard as it may seem. With a couple quick tips and some natural cleaners you’ll be on your way in no time to a cleaner shower head (and maybe even some better water pressure too). Keep reading, friends!
If your shower head is full of gunk, bacteria—especially mycobacterium known to cause lung disease—and other germs that thrive in wet areas, then you might be missing the whole point of showering!
The aerosol spray of water from the shower head makes it easy for bacteria to travel onto your body—meaning you aren’t getting as clean as you thought you were each morning.
Shower head holes can also clog with bacteria, affecting the flow and pressure of the water too. And no one likes a shower with low water pressure!
Now that you know why you should clean your shower head, let’s figure out how often you truly have to do it.
The key to preventing buildup in the shower head is to clean it regularly, which means every week. Yes, that sounds like a lot—but if you just start adding it to your weekly house cleaning checklist, it will seem like routine in no time.
It’s also good to give the shower head a deeper clean every two to three months.
Cleaning your shower head is really pretty easy. Just follow these simple steps and it’ll be shiny and sparkling in no time.
For regular cleaning, fill a small compost or silicone bag with your cleaning vinegar of choice.
Hang this bag around the shower head so it’s completely submerged in the vinegar.
Fasten the bag with a rubber band.
Give the vinegar anywhere between 1–8 hours (or overnight) to do its job.
Once you are sure the shower head has had time to soak, remove the bag.
Run the shower to flush out any vinegar that has gone inside the holes in the shower head—you probably don’t want to be sprayed with vinegar first thing in the morning.
Use a soft microfiber cloth to dry and polish the shower head. Voila.
Grove Tip
If you have a shower head that’s got a brass or gold finish, it’s very important to only soak your shower head in the vinegar for 30 minutes so that it doesn’t tarnish.
Most manufacturers recommend using a wrench instead of pliers to detach the shower head. This ensures it doesn’t damage the finish.
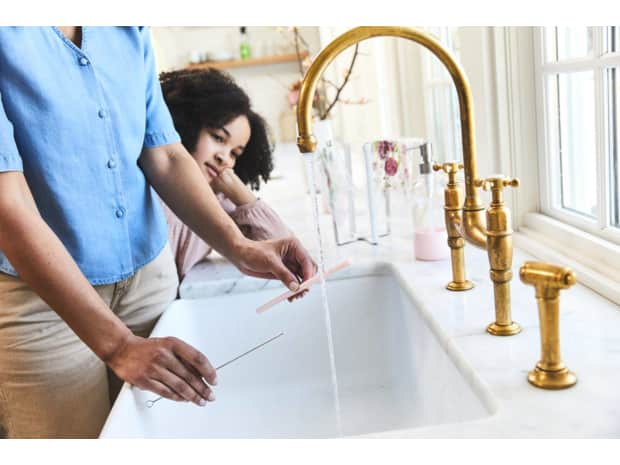
To loosen the debris on the inside of the shower head, run it under a sink faucet while holding it upside down.
You can also use a soft bristled toothbrush and cleaning vinegar to clean away the hard water deposits.
(If you’re into baking soda—spread a baking-soda and water paste around your shower head instead and let it sit there for about 30 minutes before rinsing it off.)
Use a toothbrush to descale the outside part of the shower head.
If it still seems blocked, use a toothpick, safety pin, or needle to poke the holes and loosen the debris stuck inside.
Submerge the shower head in vinegar for some time to dissolve any leftover hard water deposit and dirt.
For an extra kick, add some baking soda to the cleaning vinegar.
Once you’re sure the shower head is completely clean and unblocked, rinse it thoroughly with water to wash out all the cleaning agents.
Dry and polish with a soft microfiber cloth and attach it back to its original place in the shower.
Grove Tip
If you don’t have vinegar readily accessible and your shower head desperately needs a clean, try some cola!
If you didn’t already know, cola is very strong, and has been used as a cleaning agent for a long time. Dunk the head in cola and let it eat away the buildup.
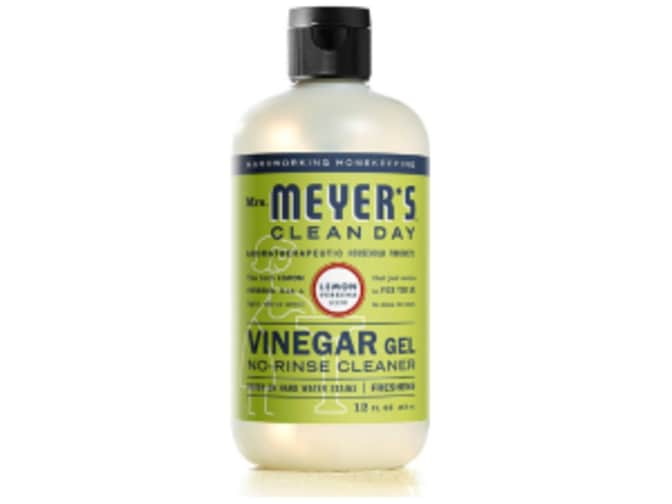
This Mrs. Meyer’s Vinegar Gel Cleaner has a nice lemon verbena scent, but tackles stainless steel just like your mom’s old, do-it-yourself concoction, without the pain of actually making it.
We've pulled the top 11 best shower cleaners determined by Grove members. Select from any on the list and get them delivered to your door!
A clogged drain can be a pain to fix. We’re revealing some of our best tips for unclogging those pesky drains!

Your shower curtain is susceptible to mold, mildew, and water stains, which are unsightly and even allergy-inducing. Cleaning your shower curtain should be part of your usual cleaning routine. Here’s how to do it right.

We've pulled the top 11 tub & tile cleaners as determined by Grove members. Select from any on the list and get them delivered to your door!