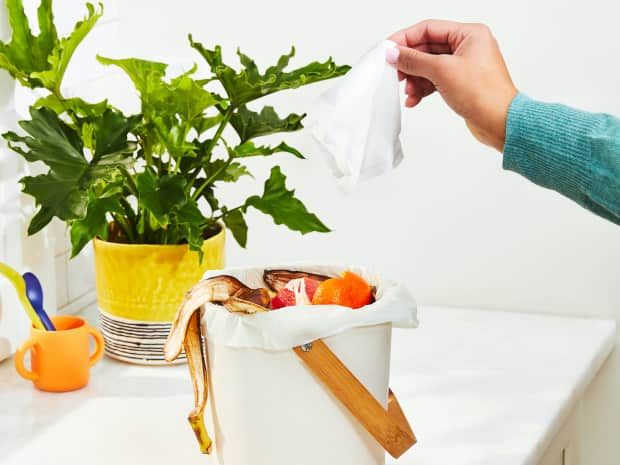
How to Compost for Beginners: Tips for Getting Started
Composting involves recycling items such as food scraps into nutrient-rich fertilizer. But where do you start? Read our guide.
Read More

Last Updated: June 13, 2022
Keep your indoor plants thriving with our guide to the hardest houseplants to kill, plus tips to keep your plants alive.
You’ve accidentally annihilated yet another houseplant. Welcome to the club! We meet on Tuesdays. Real talk, though: If you’re having trouble keeping your drama queen monstera or persnickety banana plant alive, don’t let it get you down. Some plants are notoriously difficult to care for, and the only thing you’re guilty of is being a botanical over-achiever.
So don’t exile yourself to a life of fake plants just yet (no shade if eco-friendly faux greenery is your thing, though). We’ve compiled a list of nearly indestructible house plants that are ideal for folks whose green thumbs never fully bloomed, plus a few tips and tricks to help your plant babies thrive.
When it comes to plants you can’t kill, low maintenance is the name of the game. While complete neglect — aka leaving an aloe in your closet to perish with nary a drop of water or spot of sunlight — will result in plant death, these indoor plants are surprisingly resilient.
INDOOR GARDENING TIP
Indirect light is sunlight that passes through a window, curtain, or is reflected off of walls and other surfaces. Most indoor lighting is indirect light. Plants that like low light, partial shade, or full shade thrive in indirect lighting.
It’s easy to get jaded after numerous houseplant failures, but a little botanical education can help you spot problems before they become full-blown disasters. Skip the trial and error with the signs of common plant parent mistakes and how to fix ‘em.
Follow the watering instructions for your plant. If the problem persists, it could be a soil issue — add sand to the soil to promote better drainage.
Set an alarm on your phone or mark your calendar with the days your plants need to be watered. If keeping tabs on plant thirst isn’t your cup of tea, opt for houseplants that don’t mind a dry spell.
Learn get rid of spider mites if you notice webs on your plant. You can spray the plant with neem oil or make a DIY insect killing soap that’ll nix insects without harming your greenery.
Look for a sunnier spot to keep your plant. South and west-facing windows get the most sunlight, while north and east-facing windows get the least.
Different nutrient deficiencies can cause different symptoms, but a good overall solution is to use an indoor plant fertilizer. Frequency varies between fertilizers, so follow the product instructions for best results.
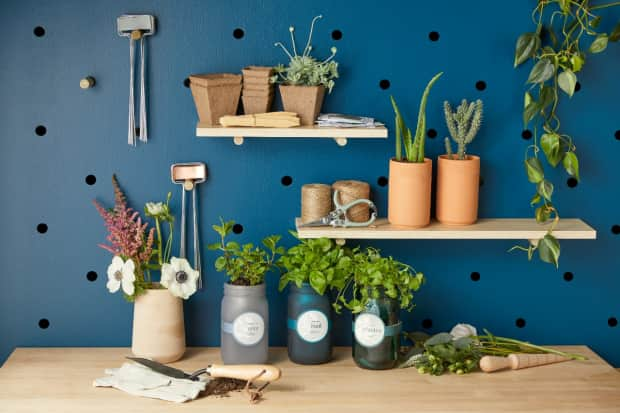
All garden supplies are not made equal. Here’s what you’ll need to set your houseplants up for success.
Let’s talk grow kits! Grow kits are an oft-overlooked way to have tasty herbs, plump tomatoes, and cool houseplants without investing a ton of time and energy. These starter packs have all the goodies you need to get an indoor garden up and running – like soil, seeds, pots, and plant markers. We especially love the tried-and-true microgreens kit, but options like desert rose bonsai trees and pear cacti are great for urban dwellers who’d rather have a taste of the desert.
Experiencing technical difficulties? Don’t worry, we won’t tell you the problem with your grow kit is that you planted it under the wrong moon (although the waxing moon is the best time to plant, if you’re wondering). Here are two ways you can get the most success out of your indoor grow kits.
A common issue with grow kits is that the seeds won’t sprout. Seeds are dormant until they detect enough moisture to germinate, but you can trick them into opening. Set your seeds in a small bowl, then fill the bowl with hot water from your sink. Let the seeds soak for 12 to 24 hours — but no more than 48 hours. After they’ve had a good soak, plant them as per the directions on your grow kit.
Another issue grow kits face is moldy sprouts – but there’s an easy fix. Mold tends to grow on plants that aren’t getting enough sunlight or air circulation, so make sure your grow kit is in a sunny area — south or west facing windows are the best for this — and place a fan near the plants to improve air flow.
Composting involves recycling items such as food scraps into nutrient-rich fertilizer. But where do you start? Read our guide.
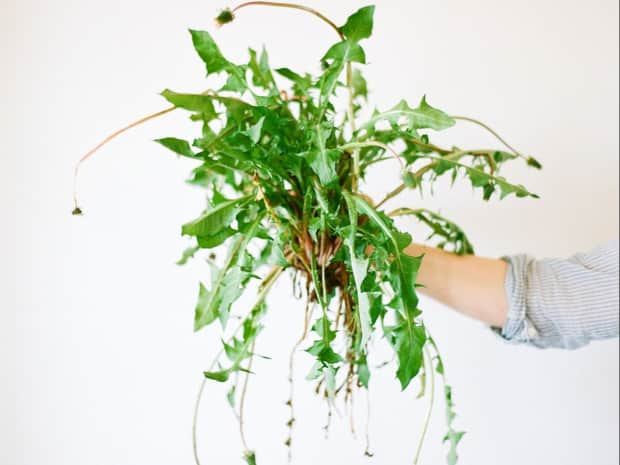
Tired of weeds threatening your lawn, veggies, or flowers? Learn how to get rid of weeds the natural way using things you probably already have in your pantry.

With these natural moss removal tips you'll be able to quickly remove moss like a boss and get back to loving your lawn.

Are you working on your green thumb? Well, with this guide you’ll at least understand the differences between gardening with soil vs. dirt. Read on!