Grove Collaborative
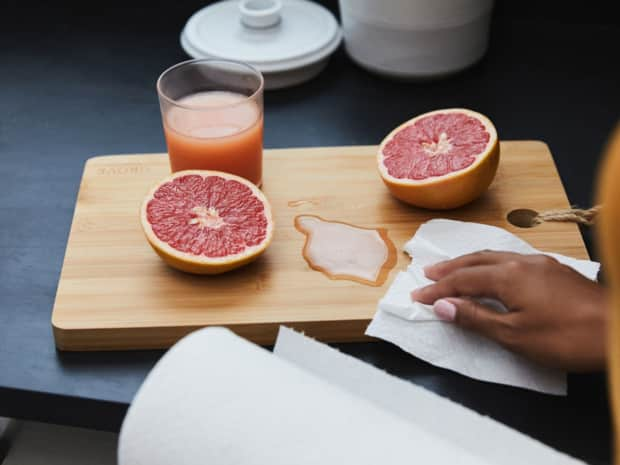
Image of a grape fruit next to a cup of juice and paper towel.

6 easy steps to clean your juicer.

Last Updated: November 3, 2021


Wondering how easy it is to clean a juicer? Hint: It isn’t hard! Learn everything you need to know about how to clean and get rid of stains from your juicer.

Whether you’re a hard-core juicer or an occasional imbiber, you rely on your juicing machine to get a healthy serving of fresh fruits and veggies. After just one use, though, this health-giving piece of equipment can start to grow some unhealthy, brownish gunk — especially in the corners.


Looking for an easy way to clean a juicer machine? Read on, and enjoy gunk-free juicing.

Do you need to clean your juicer after every use?

Illustration of fruit and nuts

Unless you like the thought of drinking yesterday’s fruits and vegetables that are already fermenting, then yes, you need to clean your juicer after every use.


No matter which type of juicer you use, remnants of juice and tiny bits of pulp left behind can grow bacteria at an extremely fast rate when left sitting at room temperature — a surefire recipe for foodborne illness.


Regular cleaning will reduce the risk of illness, and it’ll ensure you never drink a glass of juice, with furry brown slime hiding in the mix.


Yes, we know — some juicers are complicated beasts, and it feels like cleaning after juicing might take longer than the actual juicing. The good news is that many parts of a juicer are dishwasher-safe for easy clean-up. Just pop ‘em in, and pull them out clean for tomorrow’s juice.


For parts that need to be hand washed or which can’t get wet, a few pantry items should help you reach the nooks and crannies.

What do you use to clean a juicer?

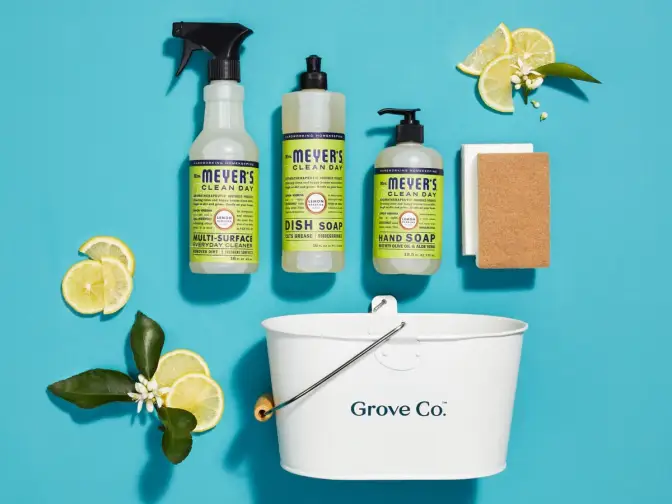
Mrs. Meyers cleaning products and Grove Co. cleaning caddy

Become a Grove member

Wondering who Grove is, what types of products we offer, and how to get a free gift set when you sign up? Learn more about flexible monthly shipments, customizing your shipment, and joining millions of happy households — no monthly fees or commitments required.

6 easy steps to cleaning a juicer

Follow these steps to restore your juicer to bacteria-free status.

Step 1: Unplug and disassemble the juicer

Safety first! Turn off and unplug the juicer before cleaning.


Disassemble the juice and pulp containers, then remove the strainer, grinder, lid, and plunger.


Scrape out the pulp container with a spatula or clean rag, and place the food particles in your compost bin.

Step 2: Soak the juicer components

Soak the components of your juicer in a sink filled with warm water and a few drops of your go-to dish liquid. Let the pieces soak in the soapy water.


If you opt for cleaning your components in the dishwasher, it’s still a good idea to give them a thorough rinse first.

Step 3: Gently wash

After the pieces soak for 10 minutes or so, use a soft-bristled scrub brush to give each piece a gentle scrub.


Use a toothbrush or bottle brush to reach tight crevices and inside complex components.

Step 4: Scrub away stains

For increased scrubbing power on tough stains, a little baking soda works a ton of magic!


Dampen a soft cloth with water, dip it in vinegar, and scrub the discolored area.


If it doesn’t rinse clean, clean your juicer with baking soda by applying a healthy sprinkle in it and letting it sit for a half hour. Then scrub with the cloth dipped in vinegar, and rinse.

Step 5: Clean the juicer base

Wipe down the base of the juicer with a microfiber cloth — Why microfiber? — dampened with water or a bit of cleaning vinegar.


Dry it with a clean towel. Since the base holds the machine’s electric components, never submerge it in water.

Step 6: Reassemble the juicer

After everything is clean and dry, it’s time to put your juicer back together!


Reassemble the juice and pulp containers, followed by the strainer, grinder, lid, and plunger.

Now that your juicer is squeaky clean, it’s time to get back to juicing! From here on out, remember that prompt cleaning makes a world of difference in the level of grime you end up having to scrub away.


Fresh pulp and juice easily wash away with warm water, so if you can’t wash right away, give it a good rinse after juicing, at least.


While you’re at it … learn how to clean your dishwasher to keep it — and your juicer parts — free from grime.

Grove Tip

How to juice safely


Aside from cleaning your juicer after each use, here are a few things you can do to enjoy safe juicing at home, according to the FDA:


  • Wash your hands before and after you juice.
  • Remove damaged or bruised areas from fruits and vegetables.
  • Wash your produce thoroughly before you cut it or juice it.
  • Scrub any produce that’s firm, like apples, oranges, and bananas, before you peel or cut them.

How easy is it to clean a juicer? See for yourself!

Wanna see just how easy it is to keep your juicer clean and ready to use? Check out this short YouTube video, and find out!


Illustration of a sink

Between cleaning sessions, keep your juicer machine free of dust, water spots, and streaks with this easy tip.


When you notice blemishes in the juicer’s container, fill it to the brim with warm water, and add a healthy splash of vinegar. Allow it to soak for 15 minutes, then toss the water-vinegar mixture, rinse well, and dry off with a clean rag.

Stop sending plastic to our oceans!

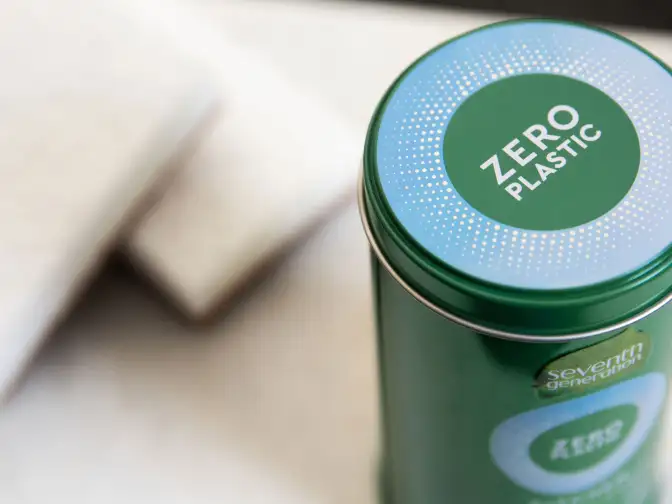
Image of Seventh Generation Zero Plastic line

Up to 12 million tons of plastic enter the ocean every year (that's 24 billion pounds)

At Grove, we want to be part of the solution, not the problem. We believe using plastic isn’t sustainable — period. Now it's time for you to take action too.


Over the next five years, we're removing plastic from every product we make and sell, like Seventh Generation natural household products. We’re committed to rethinking our products, transitioning our packaging, and leading our industry with full transparency.

Read more from Grove.