1. Pick the freshest pumpkin possible
The pumpkin should be firm with no blemishes or soft spots.
Starting with a fresh, healthy pumpkin will give it the best chance of lasting through the season.

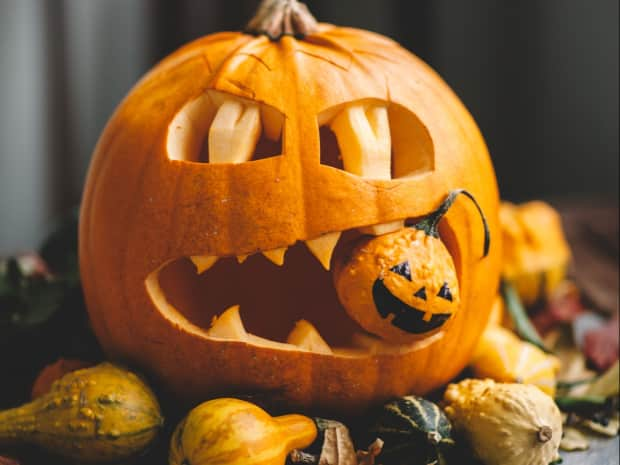
Last Updated: August 25, 2021
A saggy, rotting pumpkin isn’t the most festive kind of Halloween decor. Luckily, there are plenty of easy, natural ways to keep pumpkins looking great all season long.
Read on for smart and sustainable ways to help your carved pumpkins last longer, plus tips on what to do with your pumpkin after the season is over.
Pumpkin carving began centuries ago with an Irish legend about a man called Stingy Jack. According to the legend, Jack played a trick on the devil and his soul was cursed to wander the earth for eternity.
People in Ireland would carve faces onto turnips to frighten him away from their homes. When Irish immigrants arrived in the U.S., they began using pumpkins instead, as they were native and plentiful.
The Stingy Jack legend wasn’t originally a part of Halloween. Halloween evolved from the ancient Celtic festival Samhain, a November 1 celebration that marked the end of summer. It was believed that during Samhain, departed souls could revisit the earth. There were even traditions to protect people from these souls, such as dressing in costume to “hide” from them.
GROVE TIP
The Farmer’s Almanac recommends waiting to carve pumpkins until it’s as close to Halloween as possible. A pumpkin is a fruit, and it will naturally decompose faster when the flesh is exposed to the air, particularly if you live somewhere warm and humid.
Waiting to carve pumpkins until just a few days before Halloween or your big fall party will help keep them looking fresh.
To keep your carved pumpkin from molding and fungus growth, you’ll want to take a few important steps to prep your jack-o’-lanterns for life on the front porch.
The pumpkin should be firm with no blemishes or soft spots.
Starting with a fresh, healthy pumpkin will give it the best chance of lasting through the season.
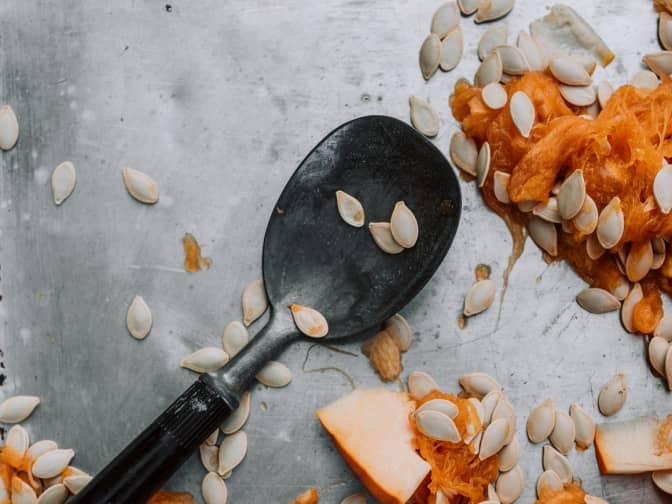
While carving, scrape all seeds and pulp from the inside of the pumpkin.
Get it as clean as possible so no scraps are left to decompose inside of the carved pumpkin.
Wipe the outside with a damp towel to remove any dirt or pulp that may have made it onto the skin.
Once the seeds and pulp have been cleaned out, soak the pumpkin in a bath tub or container full of water for 20-30 minutes.
This will allow the pumpkin to absorb as much moisture as possible before being carved and going on display — and it might help prevent sagging and withering later on.
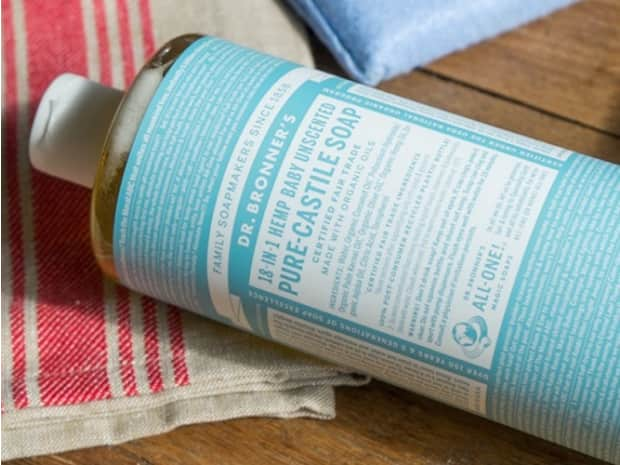
In a spray bottle, mix a quart of water with about one tablespoon of peppermint castile soap.
Spritz the inside of the pumpkin and all cut surfaces with the mixture.
Peppermint has antifungal properties that can help naturally inhibit the growth of mold.
Learn more about preventing mold and mildew in the rest of your house here.
The weather can make a big difference in the life of a pumpkin. Try to keep your carved pumpkin out of direct sunlight, and bring it inside if temperatures dip below 55 degrees.
If it’s still warm where you live, storing your pumpkin in the refrigerator overnight can also help prolong its life.
The heat from a candle can slowly cook the inside of the pumpkin, making the flesh soft and saggy.
If you want a spooky glow night after night, a flameless candle or glow stick might be a better option. Plus, it’s safer than an open flame.
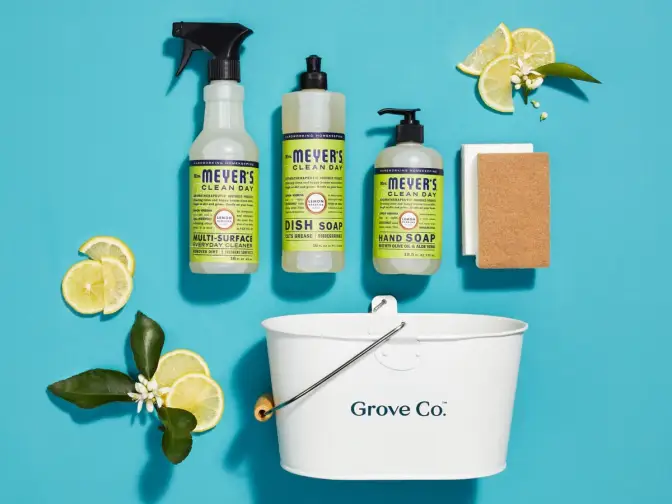
Wondering who Grove is, what types of products we offer, and how to get a free gift set when you sign up? Learn more about flexible monthly shipments, customizing your shipment, and joining millions of happy households — no monthly fees or commitments required.
Uncarved pumpkins are already more likely to last through the season, but you can still take a few steps to keep your pumpkin looking its best.
GROVE TIP
Bugs are unavoidable, but natural pest control can help protect your pumpkins. Natural insect repellents use natural oils to ward off insects without harsh chemicals.
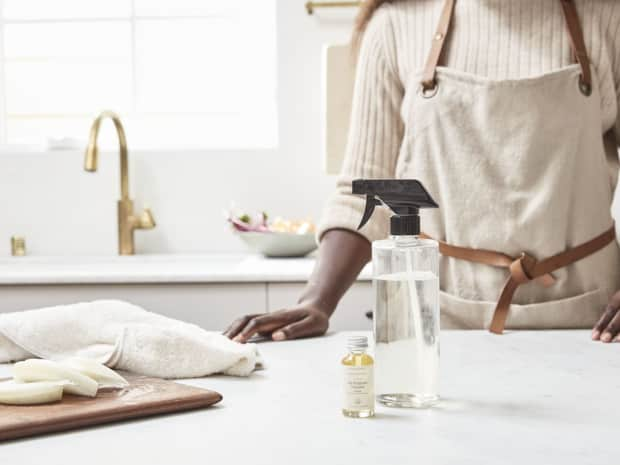
An all-purpose household pest spray with natural insect-repelling ingredients, like peppermint and rosemary, can be sprayed around your pumpkins to deter ants and other tiny critters without damaging the pumpkin’s skin.
When it comes to preserving carved pumpkins, the way you carve makes a difference, too.
Instead of cutting a hole in the top of the pumpkin, try cutting the hole at the bottom. Then, you can simply place your prepped, cleaned, and carved pumpkin on top of the candle or flameless light source.
This makes the process of lighting pumpkins easier and prevents moisture from pooling at the bottom of the pumpkin and accelerating decomposition.
Some other tips when carving include:
Every year, seasonal items like pumpkins, leaves, and hay are dumped in the trash and sent off to landfills, where they decompose and emit methane, a greenhouse gas with more than 20 times the warming effect of carbon dioxide, according to the US Department of Energy.
Composting can help reduce these greenhouse gas emissions and prevent food waste. Even if you don’t typically compost, you can still compost your old Halloween pumpkins.
Here’s how to get started:
After a few weeks, pumpkins will break down into rich compost that you can spread around other plants for a pre-winter nutrient boost.
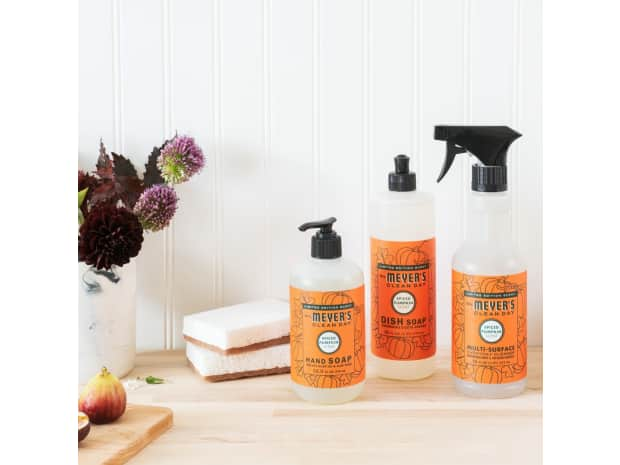
Discover our five favorite pumpkin products for your fall season.
Grove writer Mackenzie Sanford tried it and she's here to report her findings.
Steer the ants out with these natural repellents —and keep them out.
We've gathered the top-rated natural products to use during your next outdoor events.