
Clean team: How to clean a shower head.
Give your shower a deep clean with our easy tips on how to clean a shower head, an oft overlooked part of bathroom cleaning.
Read More


Last Updated: May 16, 2022
An amazing toaster oven can quickly turn into a grimy mess. Get your toaster oven clear and clean with our step-by-step cleaning guide that’ll have you back to crisping pizza and baking fries in no time.
Ah, the toaster oven. It’s easy to see why this simple, affordable appliance has found its way into kitchens of all shapes and sizes. Toaster ovens are game for almost anything, from crisping up leftover pizza to cooking meats and vegetables. It’s a master of all trades for a reason!
Like many other kitchen appliances, a toaster oven can seem intimidating to clean. The idea of using liquid cleaner on something with electrical elements is understandably terrifying.
Fear not! Cleaning a toaster oven is pretty simple, once you know a few easy tips and tricks. With our guide, your toaster oven will be back to doing what it does best, minus all the grease and burnt crumbs.

For average use, you should clean your toaster oven about once a week. Like all kitchen appliances, a little bit of daily maintenance goes a long way to keep your toaster oven clean over the long term. For the toaster oven especially, daily maintenance is worthwhile, as rogue food bits can quickly turn into stubborn grime — or even a potential fire hazard.
During daily use, before you turn it on, peek inside and check for any crumbs or other food bits. See ‘em? Now take a dry kitchen cloth to remove and dispose of such scraps before they become a problem.

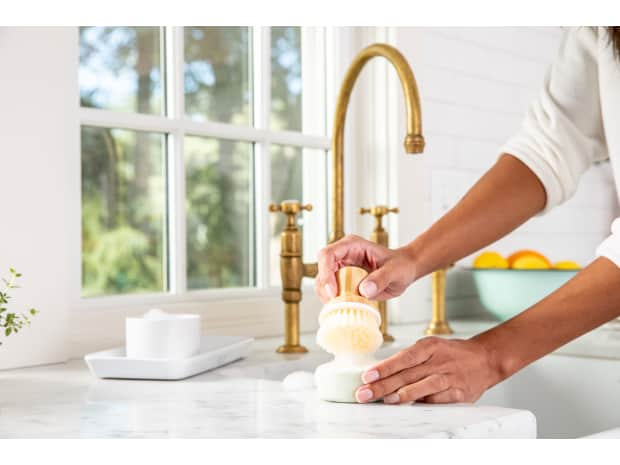
You don’t need a ton of fancy cleaners and gear to clean your toaster oven. You likely already have everything you need!
As a general rule of thumb, try not to use too much liquid. Toaster ovens are electrical appliances, and liquid can damage the more sensitive electrical components of the appliance.
Here’s what you’ll need:
Grove Tip
Toaster ovens are sometimes lined or made with non-stick coating. Abrasive cleaners and heavy scrubbing or scouring can damage the coating or the oven’s other components. To maintain the non-stick coating, avoid abrasive sponges, scouring pads, and intense cleaners while cleaning the inside.
Any time you’re cleaning an electrical appliance, unplug it from the outlet to avoid potential electrical shock, fire, or appliance damage. Be sure your unplugged electrical prong stays dry — keep it separate from the main cleaning action.
Fill either your sink or a large container with a mixture of lukewarm water and a couple of squirts of dish soap. Then, submerge all racks and trays in the soapy mixture. These can soak while you continue the rest of the cleaning.
Use a dry cloth or sponge to wipe out any crumbs or residues from inside your toaster oven. Be careful not to jostle or lean on the heating elements.
Apply an all-purpose cleaner to a microfiber cloth or kitchen towel, or make a homemade cleaning paste with three tablespoons of water and a half-cup of baking soda. Scoop up a bit with your cloth and wipe the interior of the toaster oven, paying extra attention to grease and grime.
Try to avoid getting cleaner on the heating elements of your toaster oven. If you accidently do get them wet, gently dry them with a dry cloth or rag. Repeat if necessary until the grime is gone.
Apply a bit of lukewarm water and dish soap to a sponge. Wring it until it’s damp, and wipe the exterior of your toaster oven with it, avoiding any electrical ports or cables.
Since they’ve been soaking, a quick scrub with a sponge should clear off any grease left on the toaster oven trays and racks. If not, use a scouring pad to remove tough spots.
A combination of air drying and hand drying will do the trick. Make sure the toaster oven and the racks are dry before you put them back in.
Once the toaster oven is clean and thoroughly dry, plug it back in. Admire your cleaning success, and feel confident that your next toaster oven bake will be grime-free!
Give your shower a deep clean with our easy tips on how to clean a shower head, an oft overlooked part of bathroom cleaning.

Discover the best tips on how to clean silver and ensure your items keep their shine and luster over time — no matter how often you use them.
Cleaning brass is admittedly not the most fun chore. But if you want brass that doesn’t look lackluster, you must clean it! So let’s talk brass.

We’ve put together a handy guide on how to clean travertine floors like a pro! Read on to ensure your floors stay clean and pristine.