
How to remove paint from clothes.
Discover how to remove paint from clothes effectively. Learn which steps and materials are needed to save your favorite clothing items!
Read More

Last Updated: December 15, 2021
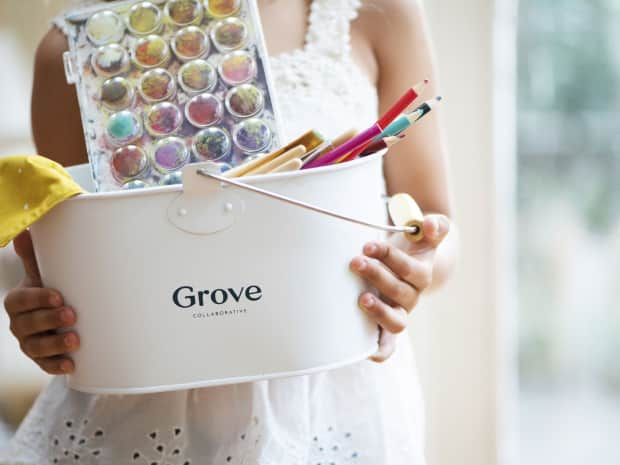
Art supplies are an expensive investment, so it's wise to manage and maintain them carefully. Keep supplies organized so you can find everything easily.
Correct storage will also lengthen the useful lifespan of your tools and supplies. Knowing how to clean paintbrushes is crucial, too, so they will last and be ready to use for every art project.
Keep reading for some quick tips on cleaning and organizing all of your art supplies plus some helpful resources for more in depth questions.
When you finish painting, always clean paint brushes immediately. Never allow paint to dry on your brushes, as this can damage the bristles.
Fast and thorough cleaning ensures that the brushes will be fresh and clean the next time you want to use them.
Here are 11 steps to properly clean a paint brush:
A clean and organized art studio has several benefits. When everything has a storage spot, you'll be able to find your supplies quickly and easily.
Storing supplies and equipment properly makes items last longer, too. Many artists find it easier to work in an organized environment, and you may find that you're more creative and imaginative when you work in a tidy space.
Here are 8 tips to start organizing your art supplies for a cleaner more creative space:
Here are more top resources you can use to help organize, store, and clean your art space and tools.
Discover how to remove paint from clothes effectively. Learn which steps and materials are needed to save your favorite clothing items!

Now’s the perfect time to detox your pantry of plastic containers, outdated kitchen tools, and expired items. Let professional organizer, simplifier, and author Monica Leed show you how easily it can be done with these 12 tips.

Wondering how to clean white shoes and get the stains out? We’re sharing our pro tips for how to seriously clean your white sneakers — and shoelaces — so they’re bright as new again!
Say goodbye to yucky glue and sticker residue when you learn how to get sticker residue of any surface using natural products you have at home.