How to get rid of drain gnats & flies in your sink.
Learn how to identify drain flies and eliminate these pesky pests from your home.
Read More

Last Updated: September 15, 2021
Nasty, smelly stink coming from your kitchen sink? Try these 4 different ways to clean your garbage disposal — and the black rubber splash guard — naturally.
When you think about the appliances you use on a daily basis, your garbage disposal may not be the first thing that comes to mind — even though this small appliance plays the important role of making your food waste magically disappear after it goes down the drain. The more often you use your garbage disposal, the stinkier it probably gets.
If you’re tired of your garbage disposal smelling like — well, garbage — read on for everything you need to know about how to clean a garbage disposal the right way.
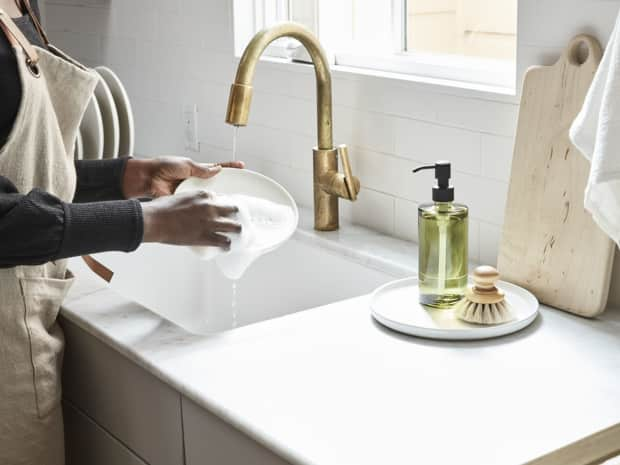
Your garbage disposal is mounted to the underside of your sink and connected to the drain. Whenever you wash dishes, rinse veggies, or scrape your plate into the drain opening, the food waste collects in the grinding chamber.
When you turn on the disposal, a spinning disc with metal lugs forces food particles against the lower walls of the chamber, which is lined with a grind ring that pulverizes the scraps into pulp. The running water (you do run the water when you use the disposal, right?) washes the liquified food down the drain.
Want to see a disposal in action? This short, animated video will blow your mind if you thought your garbage disposal had sharp, spinning blades.
Grove Tip
The great thing about garbage disposals is that they help keep food scraps out of the landfill. According to the U.S. Department of Agriculture:
You can also reduce food waste with our fridge, freezer, and pantry storage solutions, including these top picks:
Wondering who Grove is, what types of products we offer, and how to get a free gift set when you sign up? Learn more about flexible monthly shipments, customizing your shipment, and joining millions of happy households — no monthly fees or commitments required.
Although your garbage disposal can handle lots of different foods, it’s not a trash can.
According to Consumer Reports, there are some things you should never put down your disposal, including:
Grove Tip
It’s okay to toss these (and similar foods) into the garbage disposal:

While some garbage disposal smells emanate from the chamber, most of the odor comes from food that builds up and rots on and around the rubber flange — you know, the flappy black rubber splash guard that fits inside the drain hole.
When the heady aroma of garbage disposal stink wafts through your kitchen, fight back with a few natural ingredients that you probably already have on hand.
Any of the three methods below will get your garbage disposal clean and odorless — naturally, and in no time!
You’re probably already familiar with the magical cleaning powers of vinegar and baking soda, which react together to form thousands of tiny, odor-fighting, scrubbing bubbles that’ll zap away the yucky muck inside your disposal.
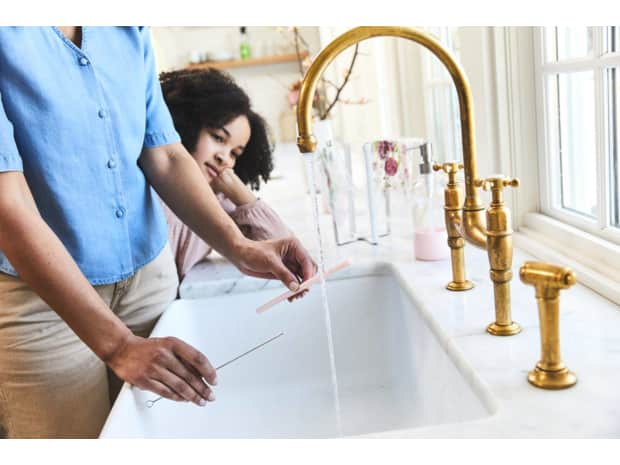
Step 1: Sprinkle a half cup of baking soda into your disposal, and let it sit for 30 minutes to absorb odors and loosen stuck-on debris.
Step 2: Add a cup of vinegar, and let the bubbles work for 10 minutes.
Step 3: Turn on the cold water, then turn on the disposal for about 10 seconds.
Step 4: Turn off the disposal, and let the water run for another 10 seconds.

Obsessed with how good your lemon essential oil smells? If you’re looking for a kitchen cleaning solution that goes a step beyond merely deodorizing and makes your room smell like an orange (or lemon or lime) grove, we’ve got you covered:
Step 1: Stuff 1 cup of lemon or other citrus peels down the hole.
Step 2: Turn on the cold water, then turn on the disposal, and let it run until you no longer hear the grinding of citrus peel.
Step 3: Turn off the disposal, and let the water run for 10 more seconds.

Have you seen the Tiktok videos of how to clean a garbage disposal with ice? Of course you have … but does it work?
Gummy, sticky, or stuck-on food particles — and their moldy odors — are no match for the power of ice cubes and salt (ideally rock salt), which work together as a powerful, odor-fighting scrub.
Step 1: Pour two cups of ice into the disposal.
Step 2: Add a cup of salt.
Step 3: Run cold water, then turn on the garbage disposal, and let it run until all of the ice is ground up.
Step 4: Turn off the disposal, and let the water run for 10 more seconds.
Grove hot tip: Add a cup of citrus peel to the ice and salt, and you’ve got a rot-cleaning, mold-busting powerhouse of a scrubber with a fresh, crisp scent.
Grove Tip
The splash guard keeps food from spewing out of the drain hole while it’s being pulverized. Whatever would normally be jettisoned out of the hole and onto the ceiling — or onto you — instead sticks to the underside of the guard.
Naturally, you’ll need to clean it off, so put on some gloves.
Step 1: Grab the microfiber cloth you use for gross jobs, and soak it with warm water. Wring as much water out as you can.
Step 2: Gently lift up the guard, and go at the underside with the microfiber. Depending on your guard, you may need to reach a couple of inches down into the abyss to scrub from underneath.
Here’s why microfiber is your best choice for cleaning your garbage disposal splash guard — see why our members crowned these 7 microfiber cloths the best of the bunch.
Grove Tip
It’s not uncommon for people to reach for the bleach when the disposal gets to be too much. Bleach is synonymous with disinfection, but it’s not a cleaner — here’s the diff — and it can do a number on your disposal and the environment.
Searching for other natural solutions for tough cleaning problems? Shop all of our specialty cleaners and natural cleaning essentials!
If your disposal is in bad need of a deep clean, try the following:
And scrub the area on the sink where the guard connects. Rinse thoroughly.
You disconnected the disposal from electricity, right?
Learn how to identify drain flies and eliminate these pesky pests from your home.
A clogged drain can be a pain to fix. We’re revealing some of our best tips for unclogging those pesky drains!
Discover some of our best tips on how to naturally clean porcelain and keep that shine brighter than ever in your sink!

Learn how to kill mold naturally and prevent it from ever coming back.