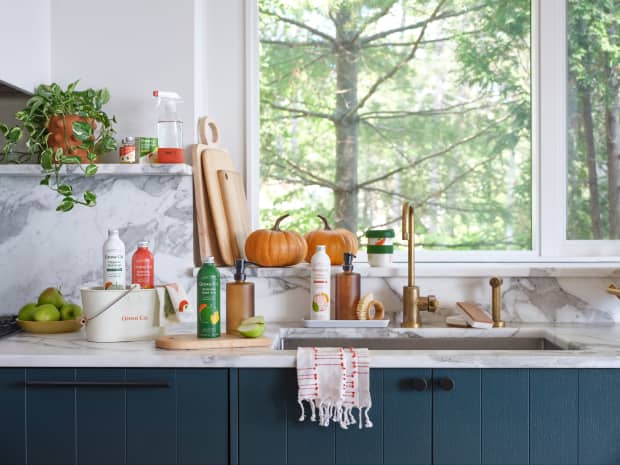
5 Best Pumpkin & Pumpkin Spice Products to Get This Fall
We've pulled the top 5 pumpkin products determined by Grove members.
Read More

Last Updated: August 12, 2022
Fall cleaning may not be as well known as spring cleaning, but these oft-neglected spots are a favorite haunt for microbial dirt and grime. Make sure you tackle these areas of the home before the holiday craziness.
Fall is the perfect time to turn your attention to the scariest (and most ignored) places in your home — with Halloween around the corner, don't be scared to tackle some spooky, hidden spots! While most people might have a spring cleaning checklist, autumn is an ideal time to perform a half-year check-in to refocus and clean in preparation for the holiday season.
So in honor of the changing seasons, grab a cup of coffee or tea and read about the five most important places you should be cleaning this fall.

Deep inside your damp, dark drains lurk microscopic monsters, including molds, fungi, and brutal bacteria like Salmonella. These unhygienic germs cling to the walls of your pipes, coating them in a terrifying black biofilm that traps and feasts on dead skin cells, hair shavings, soap scum, and toothpaste spit.
As these bacteria and molds grow, it slows down drainage and can eventually cause clogs. The stench alone is enough to make this the number one spot on our fall cleaning checklist (and maybe even inspire weekly drain cleanings).
If you pour oil down the kitchen drain (we don't chastise you, but know it's terrible for the plumbing), run the hot water for a few seconds to help it move through faster and easier. You can also install strainers in your sinks to catch food and other particles that can cause a clog — even if you run the disposal.
Bonus: Spring for a weekly enzyme treatment that breaks down organic matter in the drain naturally to keep it moving through the pipes.
GROVE TIP
Don't use store-bought, chemical drain cleaners to clean or unclog a drain. These noxious brews can seriously damage your pipes, and they can poison the water supply with caustic soda and lye — usually all for nothing, since they rarely work.
When your drain is clogged, clean it using the steps above, find a natural drain cleaner to buy, or learn more about homemade drain recipes in this article. If the clog persists, call a plumber — or snake it yourself.

The space between your refrigerator and the wall is unnerving. Even if you’re able to wrangle a duster back there regularly, the coils behind the fridge eventually get covered in a suffocating layer of filth.
This dirt film acts as insulation and reduces the cooling power of your very expensive appliance — and it can even lead your fridge to an early grave.
Clean your coils once a year to extend the life of your fridge and escape the gruesome consequences of inadequately cooled food.
Dust and vacuum around the fridge regularly to prevent the dust from the floor from attaching to the coils. Turn on the exhaust vent while you’re cooking too to keep grimy grease particles out of the air and prevent them from settling on the coils.
Learn more tips for cleaning the whole refrigerator naturally here.
Grove Tip
Since you’re back there anyway, now is a good time to thoroughly clean the back of the refrigerator, the bottom, the floor, and the wall. Vacuum all of the surfaces, including the floor.
Use a natural, all-purpose cleaner and a microfiber cloth to remove grease and grime from the wall. If you didn’t already, remove the toe plate from the front of the unit and vacuum up the dust that has accumulated underneath. Mop the floor before you return the fridge to its spot.
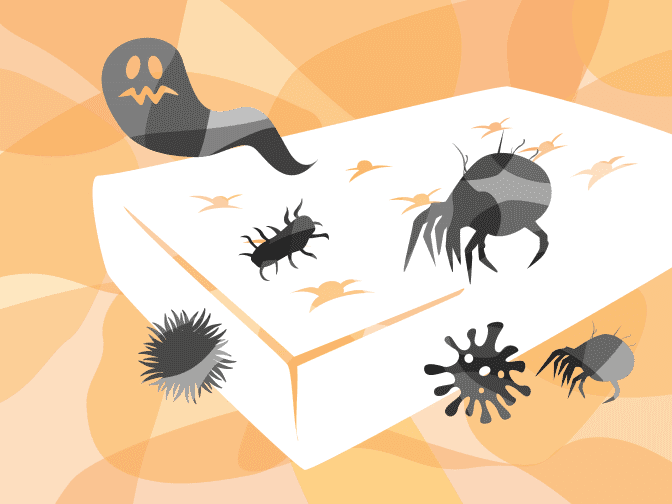
You spend roughly one-third of your life in bed, drooling, sweating, and shedding dirt and dead skin cells. It’s no wonder that your mattress can quickly become a breeding ground for bacteria — and that’s the pleasant news.
Invisible to the naked eye are millions of dust mites taking up residence in your mattress — tiny, gluttonous arachnids who feast on your dead flesh and excrete highly allergenic droppings. The corpses of their departed are strewn across your bed, a grisly graveyard of allergenic body parts that can turn a good night’s sleep into a congested, coughing nightmare.
Clean your mattress two to four times a year to keep these bugs — and other offenders — under control. And if you're overwhelmed at the prospect of washing blankets, we've got you covered for that too.
Find even more tips to throughly clean a mattress (naturally, of course) here!
Invest in a mattress cover. A mattress cover keeps your mattress cleaner longer, and it’s a must-have for those with allergies. Mattress covers are thin and waterproof, and they prevent dust mites from weaseling their way into your mattress. High quality mattress covers are worth the extra expense, since they’re breathable and wick away heat and moisture from your body — welcome relief for those who sweat a lot at night.
A quality mattress cover won’t change the way the mattress feels. Avoid cheap mattress covers that feel like plastic, since they’re less breathable, less durable, and less comfortable.
Grove Tip
The Sleep Foundation recommends replacing your mattress every six to eight years. Signs you need a new mattress include worsening sleep quality, an increase in allergies, waking up stiff and achy, and the appearance of sagging or other damage on the mattress.
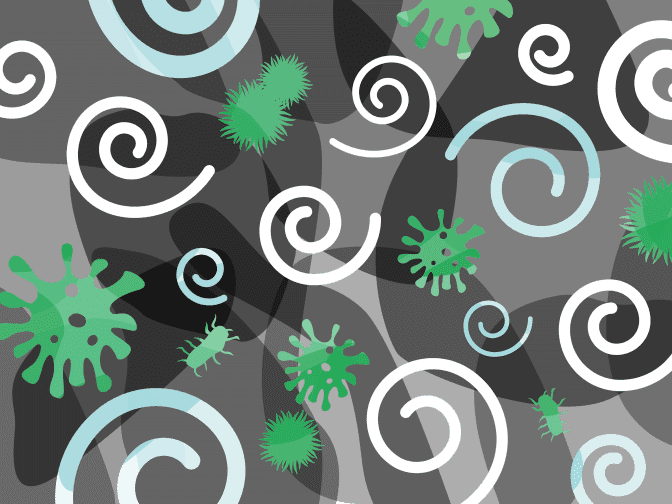
The air in your home is fraught with frightening pollutants. The Environmental Protection Agency (EPA) stresses that most homes have many sources of indoor pollution, and the cumulative effects can pose serious health risks.
Skulking around in your air are teeny particles like bacteria, viruses, pesticides, mold, pollen, dander, and cooking grease. Conventional body care and cleaning products can add toxic substances into your air too, according to the EPA.
Cleaning your air isn’t a one-trick pony — there is no step-by-step guide to bring it miraculously from dirty to clean in one to-do. Rather, it’s an ongoing, three-prong effort, says the EPA — one that will reap big rewards for your health and wellbeing, especially if you suffer from allergies or other respiratory conditions.
Replace carpeting to remove more toxins. If you have carpeting, consider replacing it with hard flooring that’s easier to keep clean. Carpeting collects and traps contaminants that come in on your shoes and fall from the air. Carpets are a breeding ground for mold, fungi, and bacteria, which dramatically reduce your air quality.
If you can’t replace your carpet, vacuum it every other day, try a carpet refresher powder, and invest in a steam cleaner for regular deep cleanings.
Grove Tip
If scented air is your jam, spritz a natural air freshener around the room, or use an essential oil diffuser for a stronger, more consistent scent. Avoid synthetic air fresheners, which spew toxic chemicals like formaldehyde, benzene, toulene, and xylene — along with a witches’ brew of phthalates, terpenoids, and other foul potions — into your air.
Learn more about natural fragrances for your home (and why they're better) here.
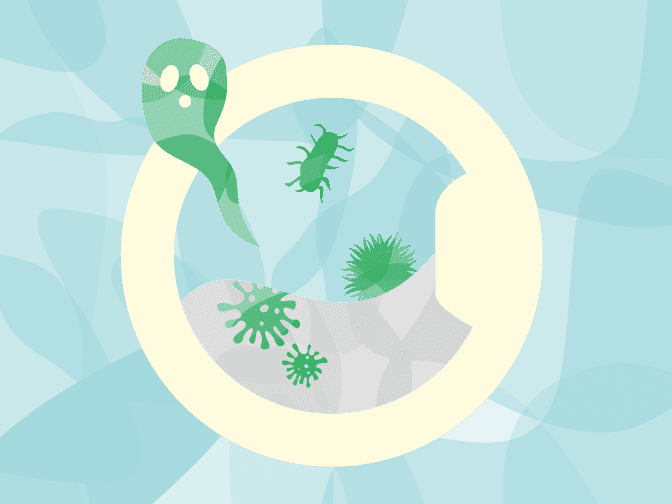
You’d think a machine that cleans things would ... stay clean. Not so when it comes to the washing machine, which can harbor a horror show of mold, bacteria, and other mysterious microbes in its dark, damp crevices.
Over time, the chilling effects of not cleaning your washing machine become clear as a strange black film scums its way across the inside of the lid and grows along the rim of the tub. Frankensteined together from dirt, detergent, mold, and laundry fuzz, this scuz is not only foul-smelling, but it can stain your clothes and make them smell like you dug them out of the creepy crawl space in the basement.
Give your washing machine a solid once-over each month to keep foul odors and menacing microbes at bay.
Learn even more washing machine cleaning tips and tricks.
Protect against odors, mold, and mildew in the first place by moving clothes to the dryer right away when the wash cycle is finished. And leave the lid or door of the washing machine open after each load to allow the inside to air-dry. Reduce the amount of detergent you use, and wipe away detergent dribbles right away.
Grove Tip
The door gasket on a front-loading machine collects and obscures a large amount of gross germs in a sludgy buildup. Spray the gasket on the inside of the door with vinegar or a natural, all-purpose cleaner (or washing machine cleaner). Pull the gasket aside, and spray more cleaner in the crevices.
Let the cleaner or vinegar work for a few minutes, then wipe the gasket and the rest of the door clean with a damp microfiber cloth, rinsing frequently in hot water.
We've pulled the top 5 pumpkin products determined by Grove members.

Read our guide on how to prevent and remove stubborn pilling on sweaters and more just in time for winter.

Here’s how to have a Thanksgiving that'll reduce your carbon footprint.

Here’s how to green your holiday celebrations so they’re festive and eco-friendly.